|
Big Boy Peak and Shoshone John Peak
The Lemhi Range in Eastern Idaho is an excellent place to find solitude and adventure. A great area to find both is Bunting Canyon on the west side of the range. The canyon is guarded by several high and rugged mountains including Big Boy Peak and Shoshone John Peak.
After a long early morning drive from Boise, Sean and I arrived at the mouth of Bunting Canyon at just after 9am, and parked at an old bridge that didn’t look passable by full sized vehicles. It was a beautiful morning, and we made quick time up the old road past Badger mine. But even after the mine, the trail, albeit intermittent, stayed in remarkably good condition, and we followed it through the trees for about 2 miles until turning north where Bunting Canyon turned south.
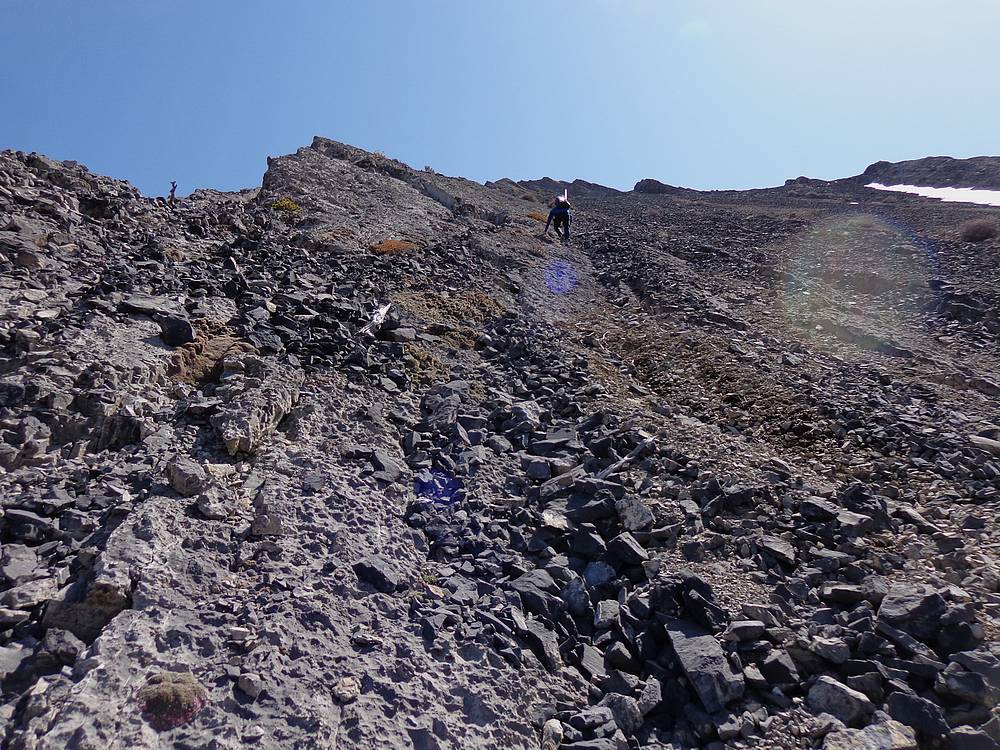
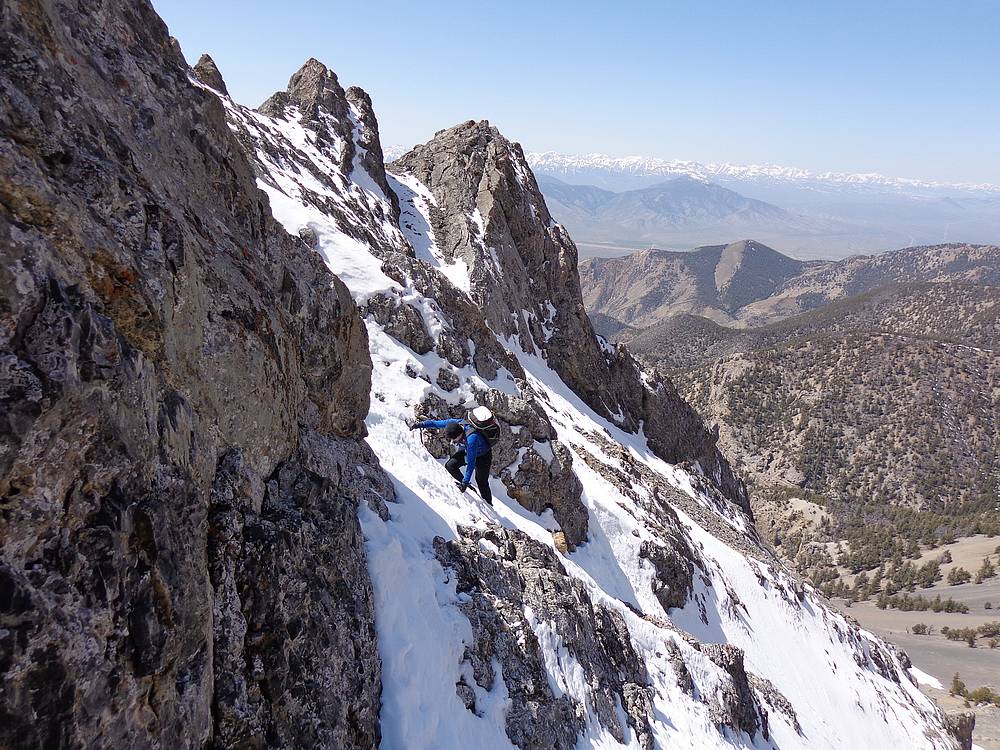
Our first objective of the day was Big Boy Peak (11,402’), and the plan was to take a direct snow climb route up the west face. But as we climbed higher, it became obvious that there wasn’t enough snow following a very dry winter. So we stuck with a ridgelet instead. This proved to be steep but doable down low. Higher up, we had to contend with some steeper talus-edged limestone slabs. That was followed by the crux of the climb through a cliff-band near 10,500’. In this section, Sean climbed steep wet rock, and I put on crampons to shimmy across an awkward snow finger.
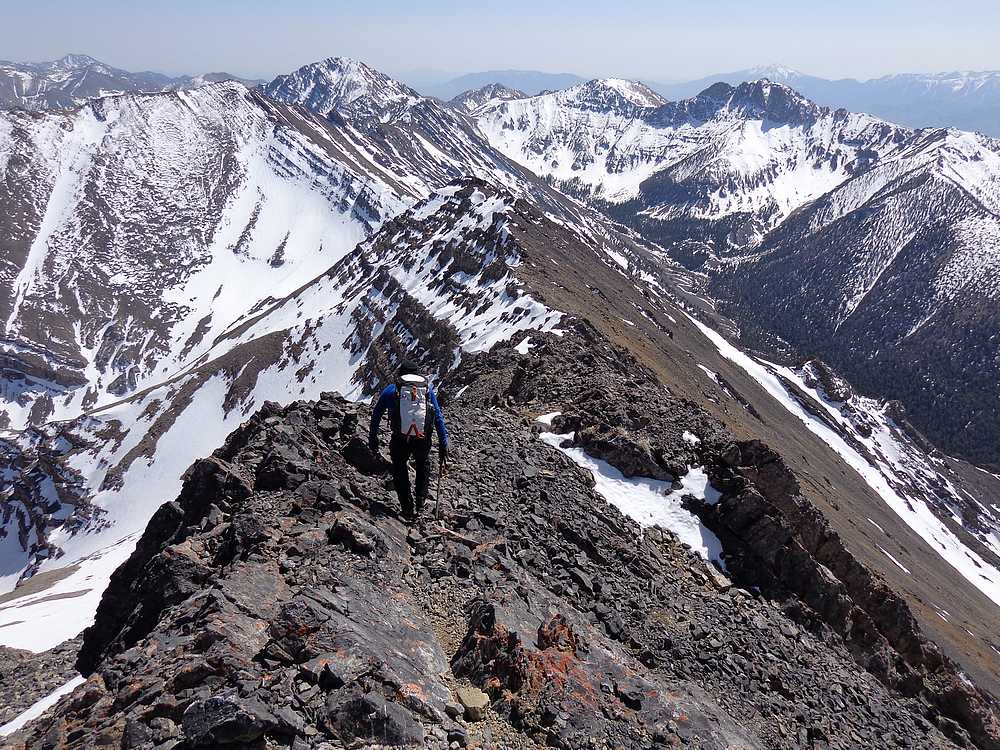
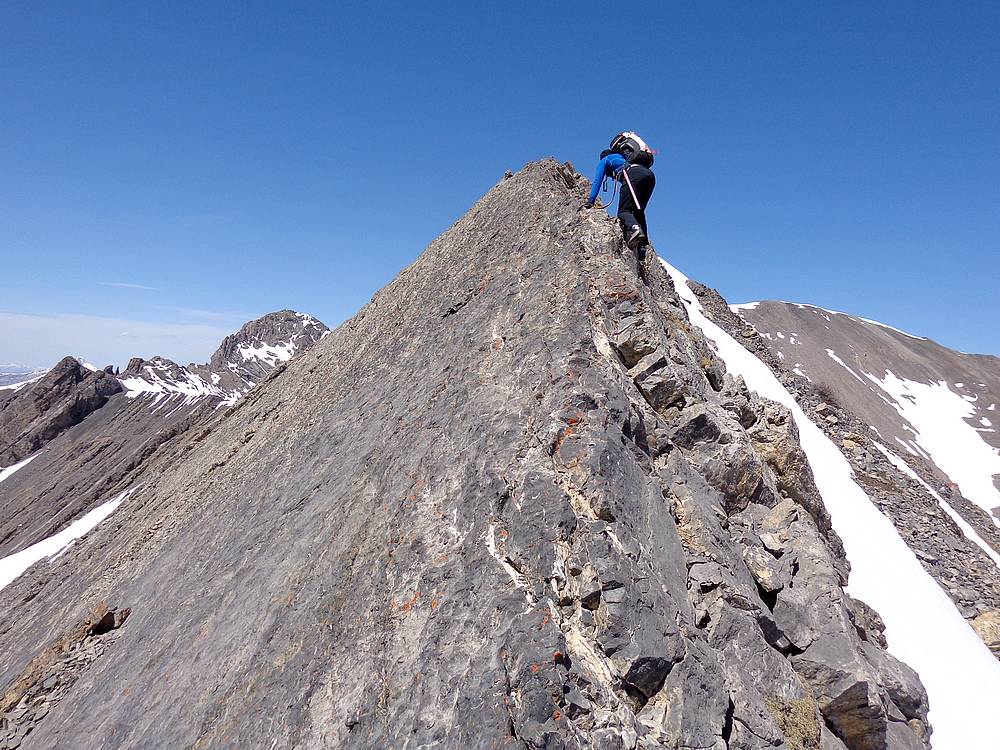
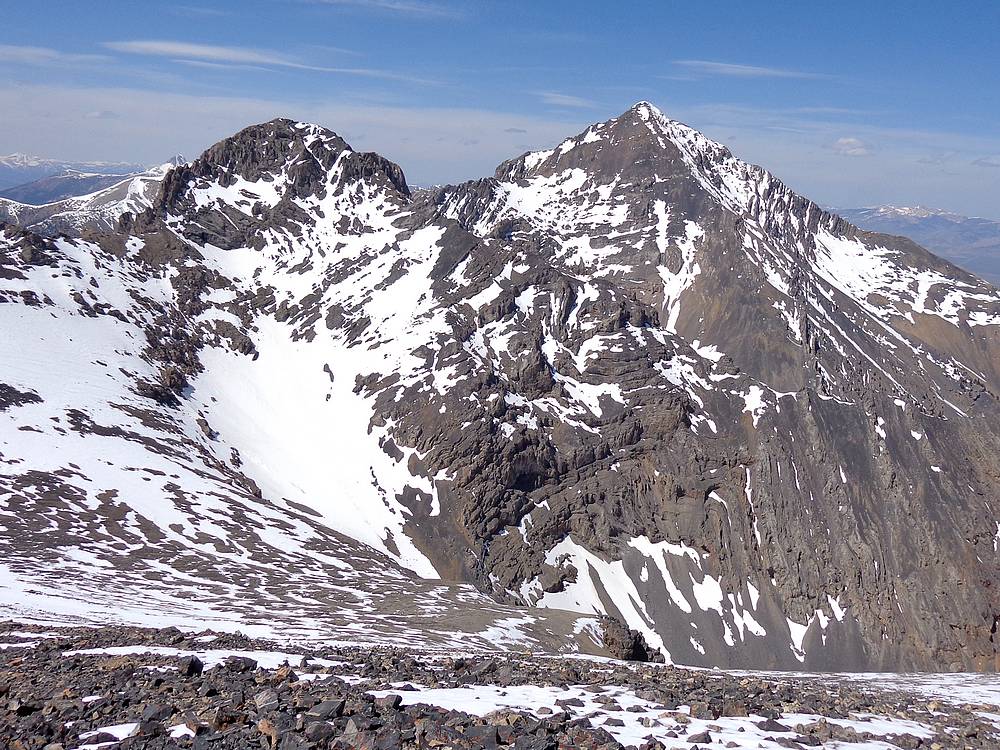
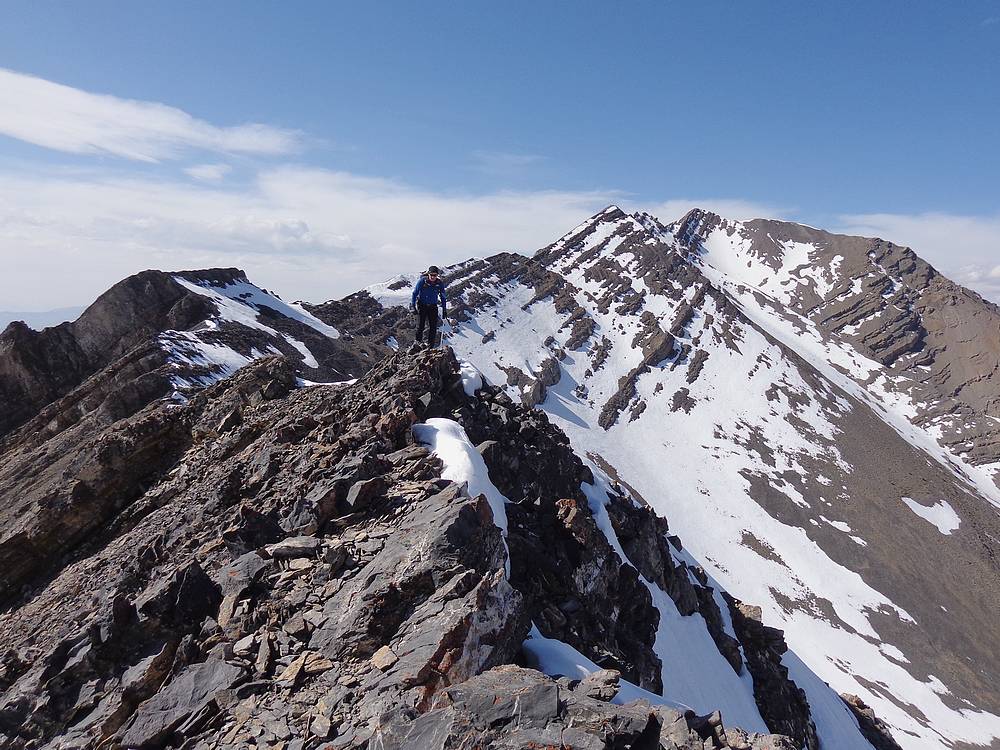
Once above the crux, it was smooth sailing to reach Big Boy’s south ridge. But the ridge itself proved to be more challenging than expected. We carefully negotiated several fun knife-edge sections and a short class IV down-climb before finally reaching the summit. From the top we had excellent in-your-face views of Diamond Peak and The Riddler to the north, and the rugged Lemhi Range all around us. To the south we could see our other planned summit, Shoshone John Peak.
From the summit of Big Boy Peak, Shoshone John Peak looked a long way away. Plus it had taken us quite a while to get up the crux and the knife-edge ridge. Because of that, we weren’t sure if we had enough time or energy to reach our second summit. But we were headed that way regardless, since we had no plans to down-climb the crux. So off we went, back over the knife-edge section, and then continued south toward Shoshone John Peak.
The closer we got to Shoshone John, the more it looked like there would be no easy way up. The west side of the ridge was guarded by steep slabs, and the east side was blanketed in a snow and scree mixture. So our only option was to stay directly on top of the ridge. It looked dicey, but we just took it slow as we climbed up the crest of ridge. Somewhat surprisingly, we made it to the summit without incident.
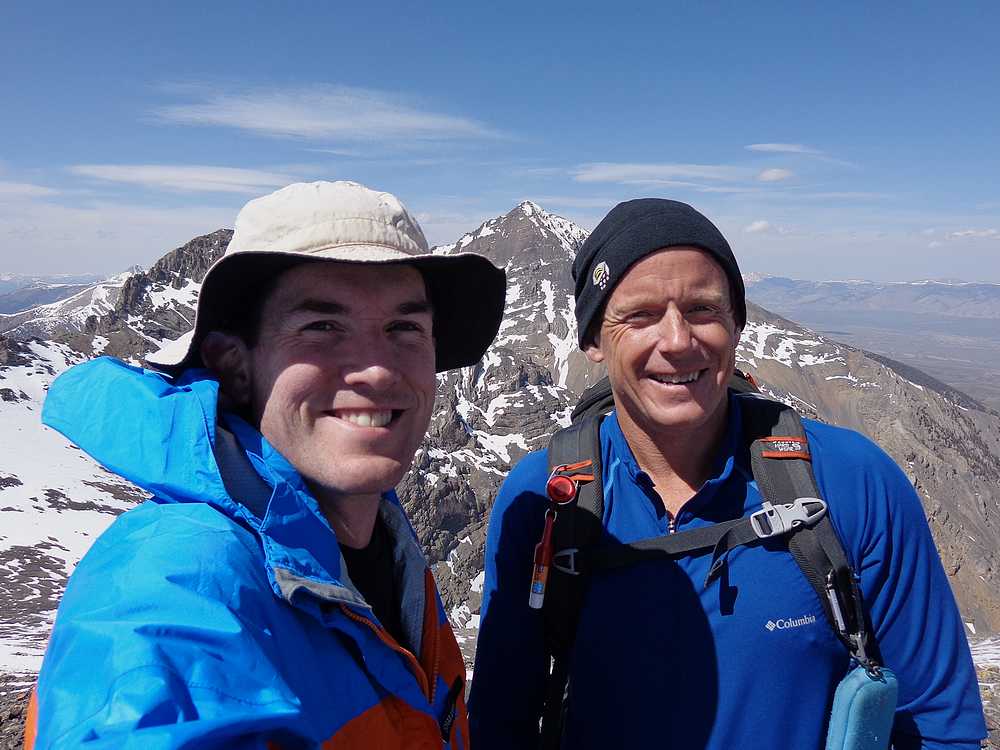
We reached the summit of Shoshone John Peak at about 5:30pm, tired but happy with the ground we had covered. From there, our plan was to head south a little ways from the summit and descend a scree chute. But the south ridge was guarded by some formidable cliffs and towers, so we retraced our steps back to the north instead. After a little while, we dropped into a grungy gully that worked out as an exit from the ridge and allowed us to get down onto the talus coved west face of the peak.
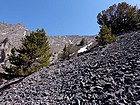
In studying the west face of Shoshone John Peak from satellite photos, it looked like a nice big scree-field that we hoped would enable a quick decent. Unfortunately, the rock was just the wrong size and the slope not quite steep enough for sliding. As a result, the 2800’ descent back down into Bunting Canyon was long and tedious, with almost every step being a carefully calculated move.
Once mercifully back down to the valley floor, we stopped to pump some water had have a snack. One of the more interesting things we saw was a spot we called the “Pearly Gates”, which were some huge limestone cliffs with a vertical opening that allowed access to a broad scree gully above. After wandering through the trees for a while, we were able to pick up the faint trail that would eventually lead us back to the trailhead by just after 8pm. With limited info about this area from the start, this 11 hour day proved to be a great adventure in and around some amazing terrain. Highly recommended.
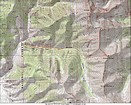
Map of the route we took, 10 miles and 4800' elevation gain, round trip. |
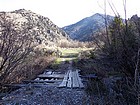
We decided not to drive across this old bridge, and made it our trailhead. |
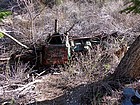
Old Chevy left to rust away, near the Badger Mine. |

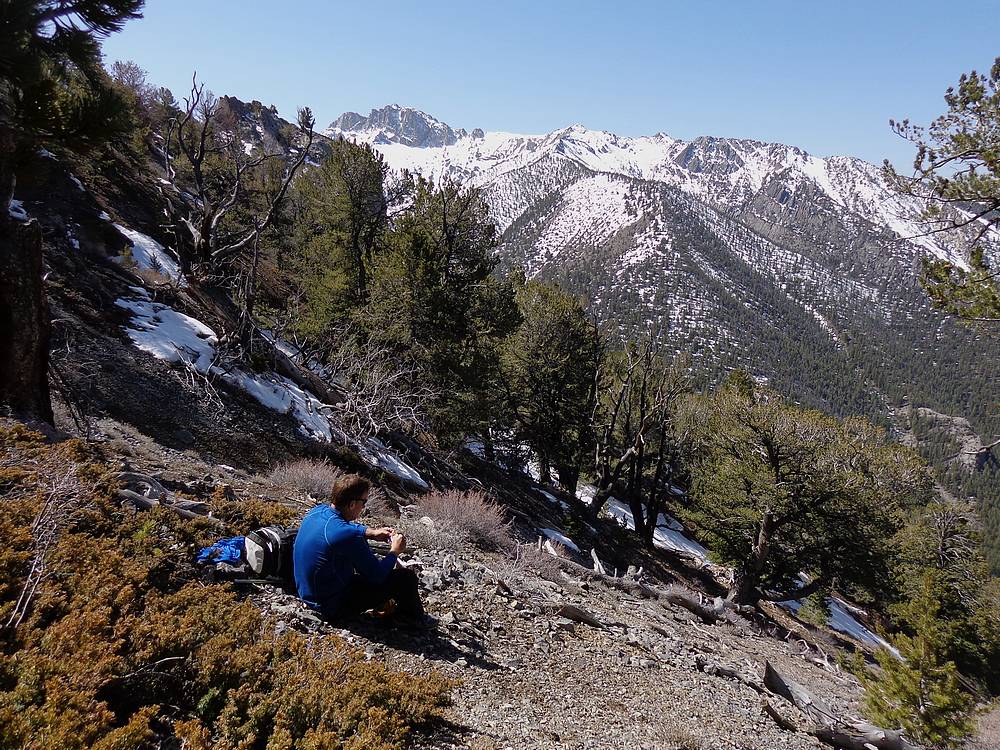
Lunch break at 9k, Nicholson Peak in the distance. |
First view of Big Boy Peak, from the southwest. |
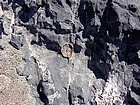
We saw lots of fossils in the limestone on the way up. |

Sean scrambling up a rock rib amidst the talus. |
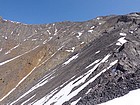
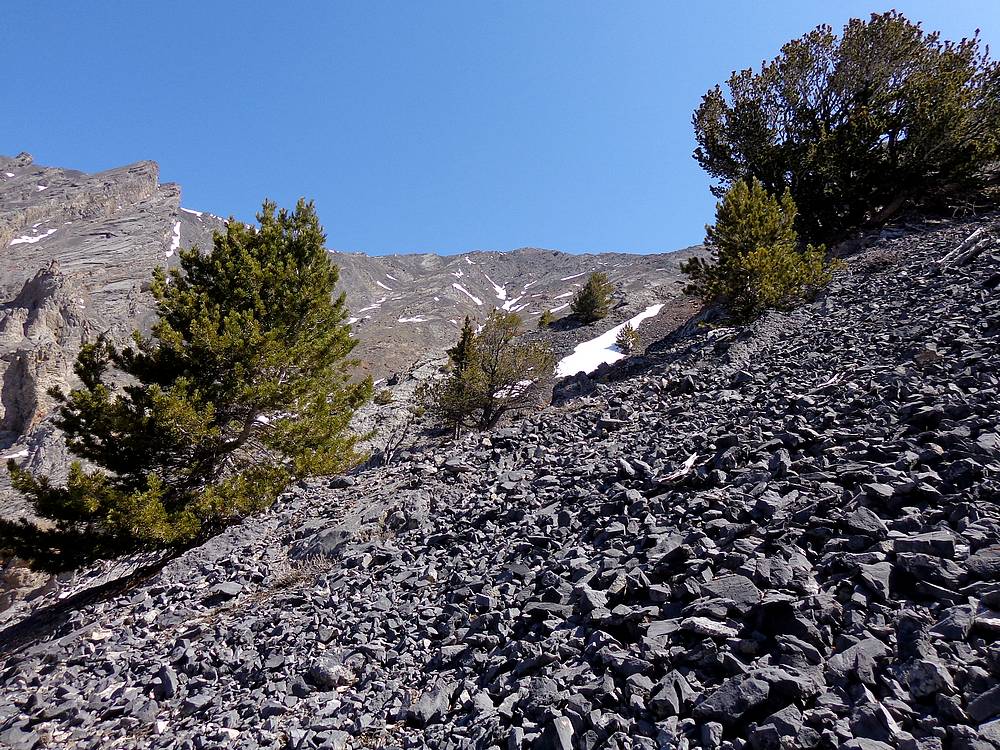
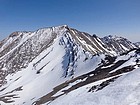
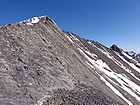
West face of Big Boy Peak. |
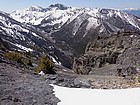
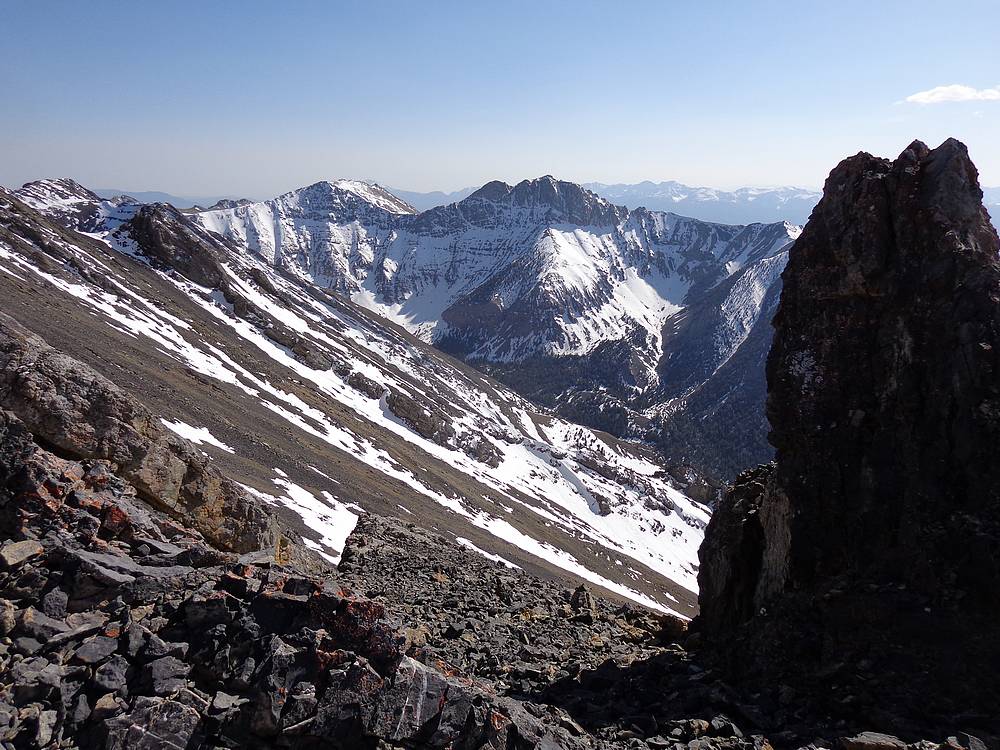
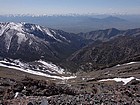
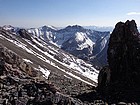
View south toward Nicholson Peak. |
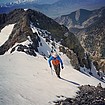
Sean climbing one of the cruxier sections of the ridge. |
Snow climb after the crux. SeanD photo. |
Taking a break above the crux, Lost River Range in the distance. |
Start of the knife-edge section on the south ridge of Big Boy Peak. |
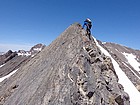
Making our way across the south ridge of Big Boy Peak. |

The Riddler and Diamond Peak from the summit of Big Boy Peak. |
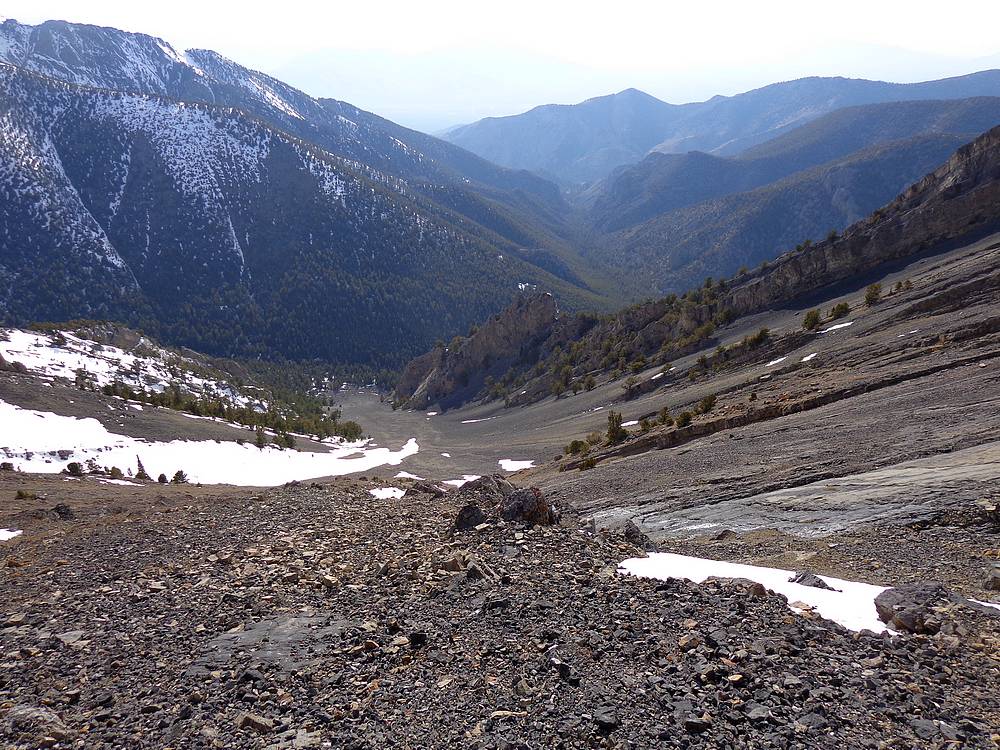
Bunting Canyon from the summit of Big Boy Peak. |
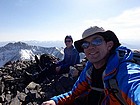
Big Boy Peak summit splattski shot. |
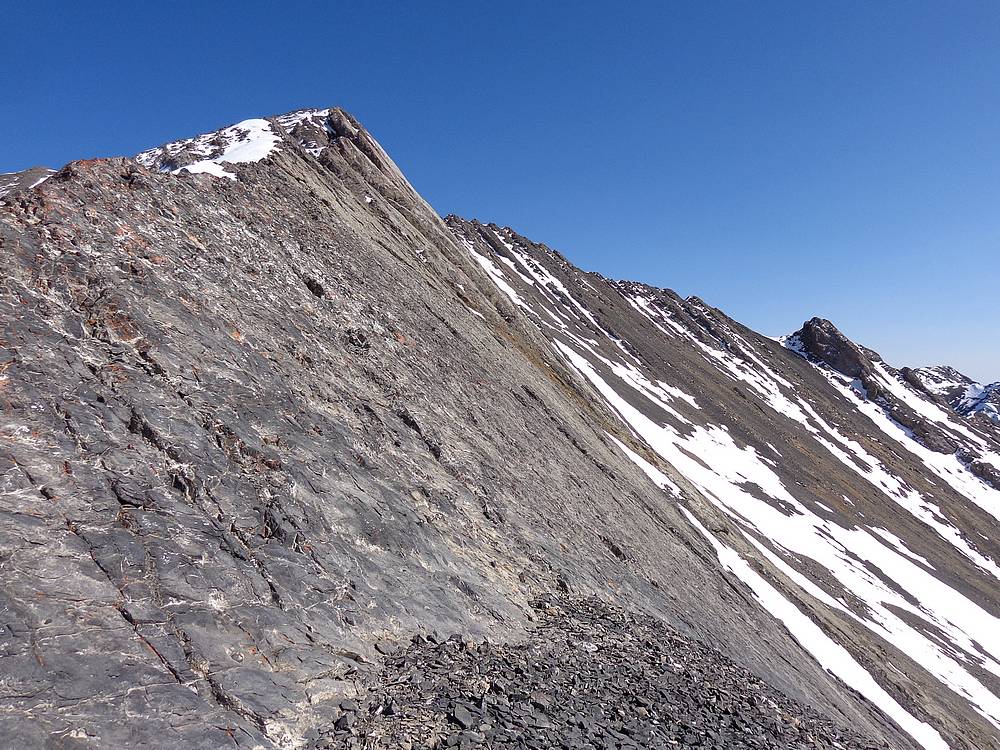
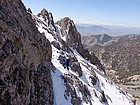
North face and northwest ridge of Shoshone John Peak. |
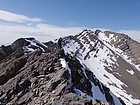
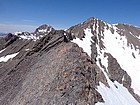
Looking back on Big Boy Peak during our ridge traverse to Shoshone John Peak. |
We opted against these slabs on the south side of ShoJohn's northwest ridge. |
Nicholson Peak from the northwest ridge of Shoshone John Peak. |

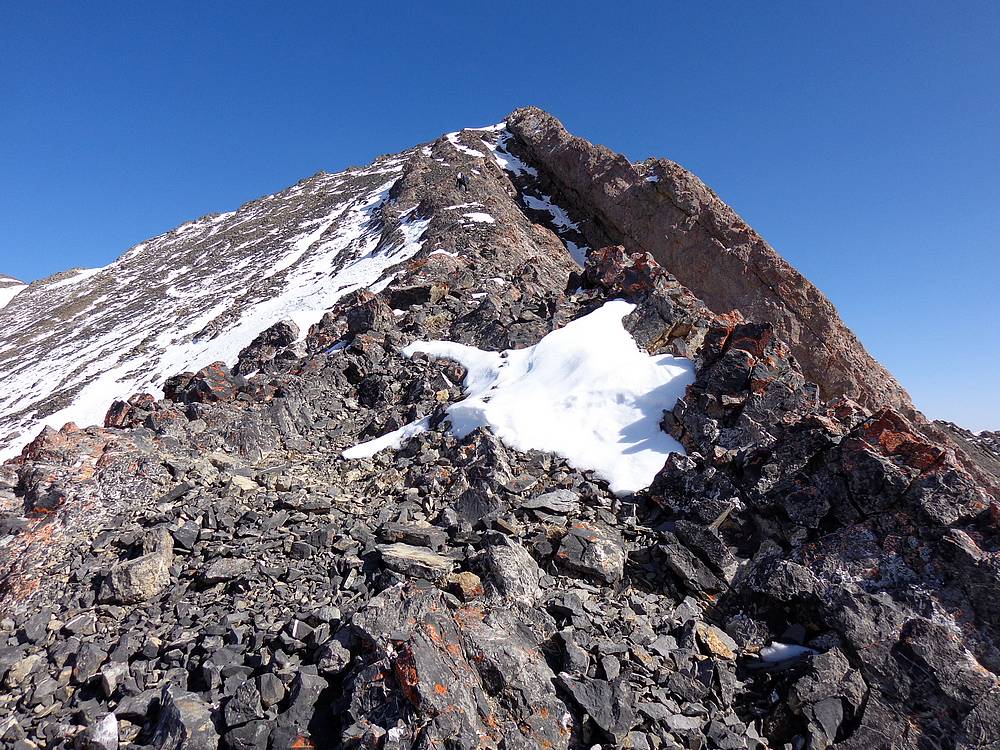
Sean nearing the summit of Shoshone John Peak. |
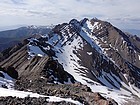
Connecting ridge from Shoshone John Peak to Big Boy Peak. |
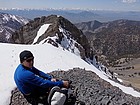
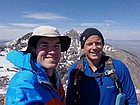
Tired but happy on the summit of Shoshone John Peak. |
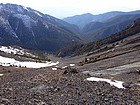
Our decent descent gully on the west face of Shoshone John Peak. |
 |
|